
how to play pc vr games on quest 3 usually comes down to one decision: do you want a rock-solid wired connection, or the freedom of wireless with a bit more tuning.
If you have a capable gaming PC, Quest 3 can act like a PC VR headset, letting you access SteamVR titles, Oculus PC apps, and more. The upside is better graphics and larger libraries, the downside is that small setup issues (USB ports, Wi‑Fi, settings) can quickly turn into stutter and disconnects.
This guide focuses on the practical path: what you need, how each connection method behaves in real homes, and how to troubleshoot the common “it should work, but it doesn’t” moments.
What you need before you start (PC, network, accounts)
Before you touch any settings, it helps to confirm the basics. Most “Quest 3 PCVR problems” are really PC performance, Wi‑Fi congestion, or a cable/port mismatch.
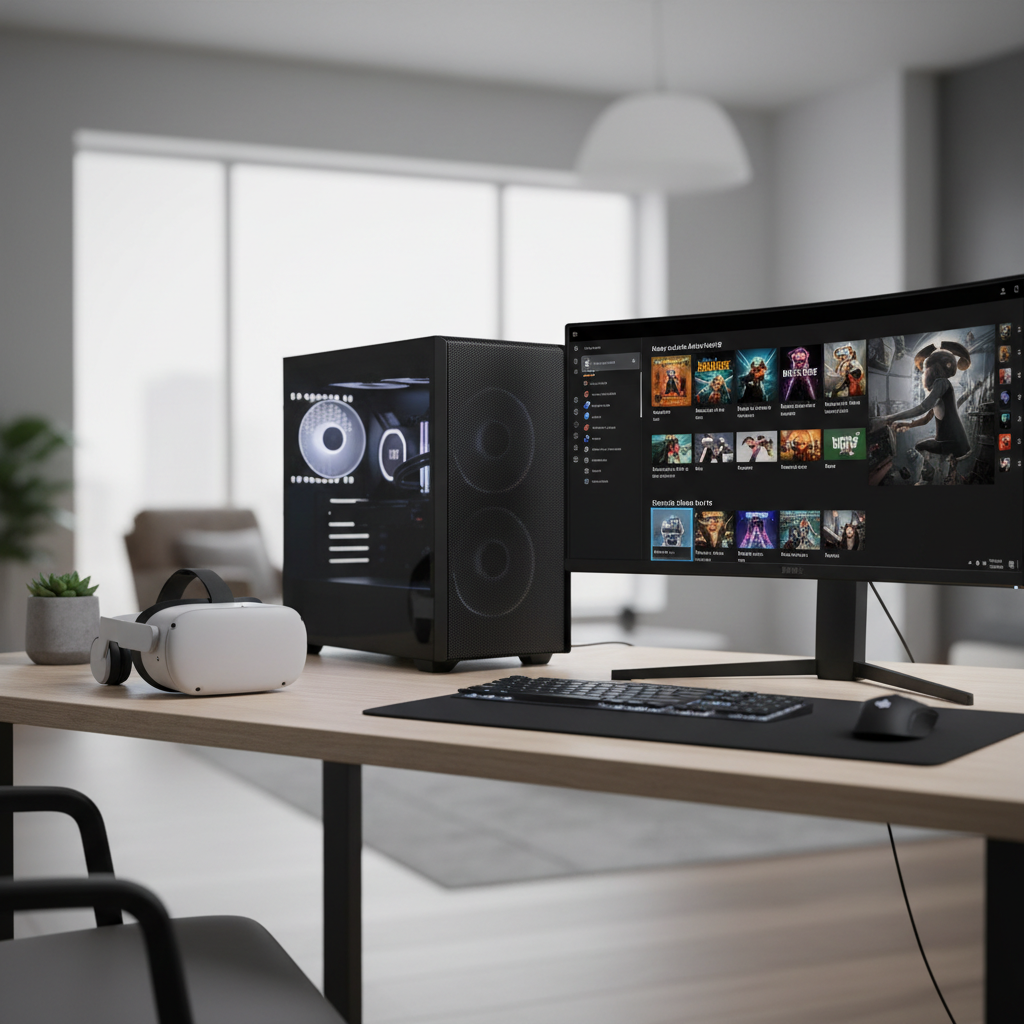
- A VR-capable Windows PC with a modern GPU and up-to-date drivers. Many midrange gaming PCs work fine, but expectations should match your hardware.
- A Meta account (for Quest) and access to the Meta Quest Link software on PC.
- For SteamVR games: Steam + SteamVR installed.
- For wired play: a quality USB-C cable and a fast USB port (often USB 3.x). Not every “USB-C” port performs the same.
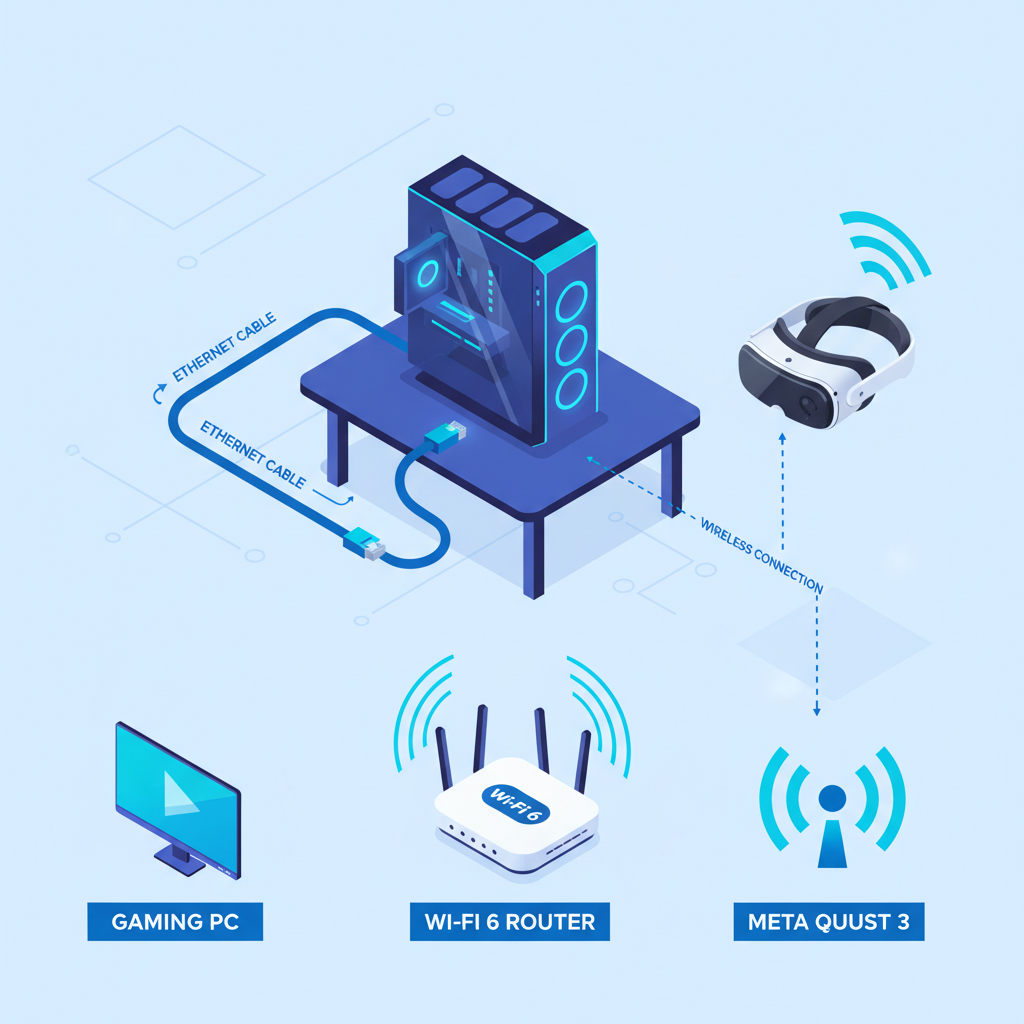
- For wireless play: a strong 5 GHz or 6 GHz Wi‑Fi network, ideally with your PC on Ethernet.
According to Meta, Quest Link requires a compatible PC and the Meta Quest Link PC app, and wireless options can be affected by your network environment.
Choose your connection: Link vs Air Link vs Virtual Desktop
There are three common ways to run PC VR content on Quest 3. They all stream video from your PC to the headset, but the “feel” can differ a lot.
Quick comparison table
| Method | What it’s best at | What can go wrong | Who should pick it |
|---|---|---|---|
| Quest Link (USB cable) | Stability, consistent latency | Bad cable/port, USB power issues, tether annoyance | Competitive rhythm/shooters, troubleshooting-prone setups |
| Air Link (Wi‑Fi) | Free wireless play, built-in Meta option | Wi‑Fi congestion, router placement, bitrate spikes | Most players with a decent router and Ethernet PC |
| Virtual Desktop | Flexible controls, often strong wireless tuning | Extra app cost, setup steps, still needs good Wi‑Fi | Power users who like tweaking and profiles |
- If you want the simplest “it just works” path: start with wired Link.
- If you want freedom of movement: Air Link is the usual first wireless try.
- If Air Link feels inconsistent: Virtual Desktop is often worth testing.
How to play PC VR games on Quest 3 with a USB cable (Quest Link)
Wired Link is the easiest way to remove Wi‑Fi variables. If you’re trying to confirm your PC can handle VR at all, this is the baseline.
Step-by-step (wired)
- On your PC, install the Meta Quest Link app and sign in.
- Update your GPU drivers (NVIDIA/AMD) and restart the PC.
- Connect Quest 3 to a USB 3.x port using a quality USB-C cable.
- Put on the headset, accept the Link prompt, then launch Quest Link.
- Open your PC VR library, or start SteamVR for Steam titles.
Wired Link settings that usually matter
- Refresh rate: if you see stutter, drop to a lower refresh rate to stabilize.
- Render resolution: lowering this often fixes “my GPU should be fine, but it chokes” scenarios.
- USB test inside the Meta app: if bandwidth looks low, switch ports or cables.
How to play PC VR games on Quest 3 wirelessly (Air Link)
Air Link can feel great when your network behaves, but it’s less forgiving. Most problems come from router placement, busy channels, or a PC connected over Wi‑Fi instead of Ethernet.
Step-by-step (Air Link)
- On PC, install the Meta Quest Link app and log in.
- Connect your PC to the router with Ethernet if possible.
- On Quest 3, enable Air Link in settings, then pair to your PC.
- Launch Air Link, then start SteamVR or your Oculus PC games.
Wireless performance checklist (quick self-test)
- PC is on Ethernet (strongly recommended).
- Router is in the same room or one room away with minimal walls.
- 5 GHz or 6 GHz band used for the headset, not crowded 2.4 GHz.
- No heavy downloads/streams during play.
According to Valve, SteamVR performance depends heavily on system performance and consistent frame timing, so network spikes can feel worse in VR than on a flat monitor.
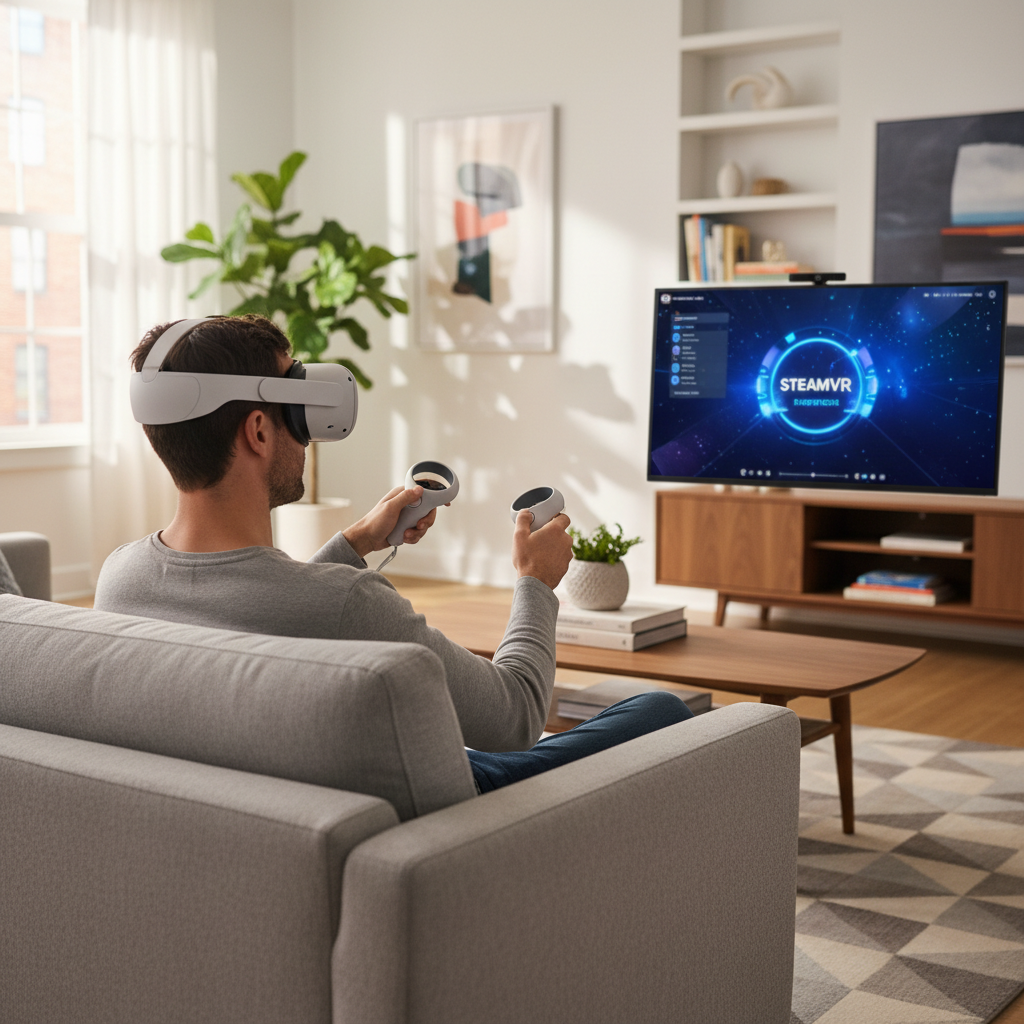
Playing SteamVR games: what to install and how to launch
Once Quest Link or Air Link works, SteamVR is usually straightforward, but a few small details save time.
- Install Steam and SteamVR on your PC.
- Launch Quest Link or Air Link first, then open SteamVR from inside the PC VR environment.
- If a game launches on your monitor but not in VR, check SteamVR is running and the headset is “active.”
If you bounce between Oculus PC titles and SteamVR, keep both apps updated. Mixed ecosystems are common, and updates can quietly fix compatibility problems.
Common issues (and fixes that actually move the needle)
When people search how to play pc vr games on quest 3, they often already tried once, hit lag or black screens, and now need the shortest route to “playable.” Here are the fixes that tend to matter most.
Stutter, wavy motion, or sudden frame drops
- Lower render resolution in the Meta PC app first, then reduce in-game settings.
- Cap refresh rate to a more stable option instead of chasing the highest number.
- Close overlays and capture tools that hook into VR (they can add overhead).
Air Link looks blurry or “blocks up”
- Move closer to the router and confirm Quest 3 is on 5 GHz/6 GHz.
- Put the PC on Ethernet; this single change often beats hours of tweaking.
- Try a different Wi‑Fi channel if your area is crowded (apartment buildings are notorious).
USB Link disconnects or won’t detect
- Switch to a different USB port (rear motherboard ports often behave better than front panel).
- Try another cable rated for high-speed data, not just charging.
- Disable USB power-saving features if your PC keeps dropping devices.
Motion sickness or discomfort
VR discomfort varies a lot by person and game. If you feel nauseous, stop, take a break, and consider comfort options like teleport locomotion, snap turning, and lower movement speed. If symptoms persist or you have health concerns, it may be wise to consult a medical professional.
Practical setup tips for a smoother experience (without over-tweaking)
You can spend days chasing perfect settings. Most players get 90% of the benefit from a few sensible defaults.
- Start wired, then go wireless: use Quest Link to confirm your PC and drivers are stable, then switch to Air Link once you know the baseline is good.
- Pick one bottleneck to fix: either GPU load (lower resolution/settings) or network stability (router/placement/Ethernet), not both at once.
- Test with an easy VR app before launching a demanding game, it’s quicker to spot whether the issue is global or game-specific.
- Keep firmware and apps updated on both headset and PC, compatibility issues are common across VR stacks.
Conclusion: the simplest path to PC VR on Quest 3
If your goal is to play tonight with minimal drama, get wired Quest Link working first, then decide whether wireless freedom is worth the extra network tuning. In many homes, Air Link becomes reliable after two changes: PC on Ethernet and router close by on a clean 5 GHz or 6 GHz band.
Pick one method, follow the steps, and adjust only what you can feel in-headset. Once the baseline is smooth, that’s the right time to raise resolution, tweak bitrate, or jump into more demanding SteamVR titles.